In this tutorial we will build a terrain generator for Unity 3D.
The terrain generator will have the following features:
- It will work in the editor as well as at runtime.
- It will be able to create virtually endless terrains.
- It will not only create the terrain but also ground textures, grass and trees.
- It will have a couple of post processing steps to further tweak the shape of the terrain.
In this first step we will setup the Unity project that we will use in all further steps.
Note: I am using Visual Studio for code editing but you can use any editor you like. And I am still using Unity 4.x but the tutorial should also work with Unity 5.x.
| 1 | Create a new Unity project and name it TerrainGen. |
| 2 | Import the two Unity standard assets „Character Controller“ and „Terrain Assets“. (Assets/Import Package/Character Controller and Assets/Import Package/Terrain Assets in the menu). |
| 3 | Create a new terrain (GameObject/3D Object/Terrain in the menu). |
| 4 | Assign one of the standard Terrain Textures of the Terrain Assets to the first texture of the terrain. („Grass (Hill)“ works good.) Unity will automatically paint the whole terrain with this texture. |
| 5 | Create a new C# script and name it „TerrainGenerator„. Attach the script to the terrain you created. For the sake of simplicity we will put all the functionality into one script – at least in the basic steps. When it comes to configuring the generation process we will add some more classes. |
| 6 | Create a directional light (GameObject/Light/Directional Light in the menu). |
| 7 | Create a First Person Controller from the Character Controller asset. Position it at 1000/2/1000. This puts the controller in the middle of the terrain and slightly above the ground. |
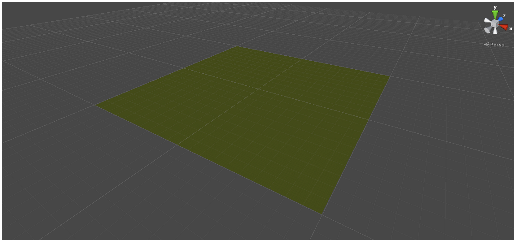
| 8 | Position the view in the editor so that you can see the whole terrain. It should be looking something like this:
|
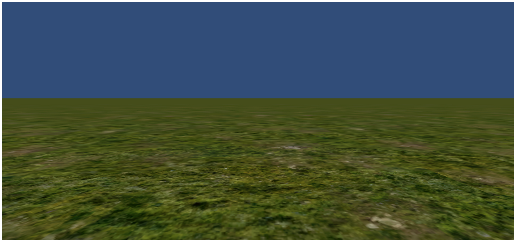
| 9 | Save the scene and name it „main“ (or whatever you like). Run the scene and you should be able to move around in the (very flat) terrain:
|
That’s it for now – we’re set up for the following steps.